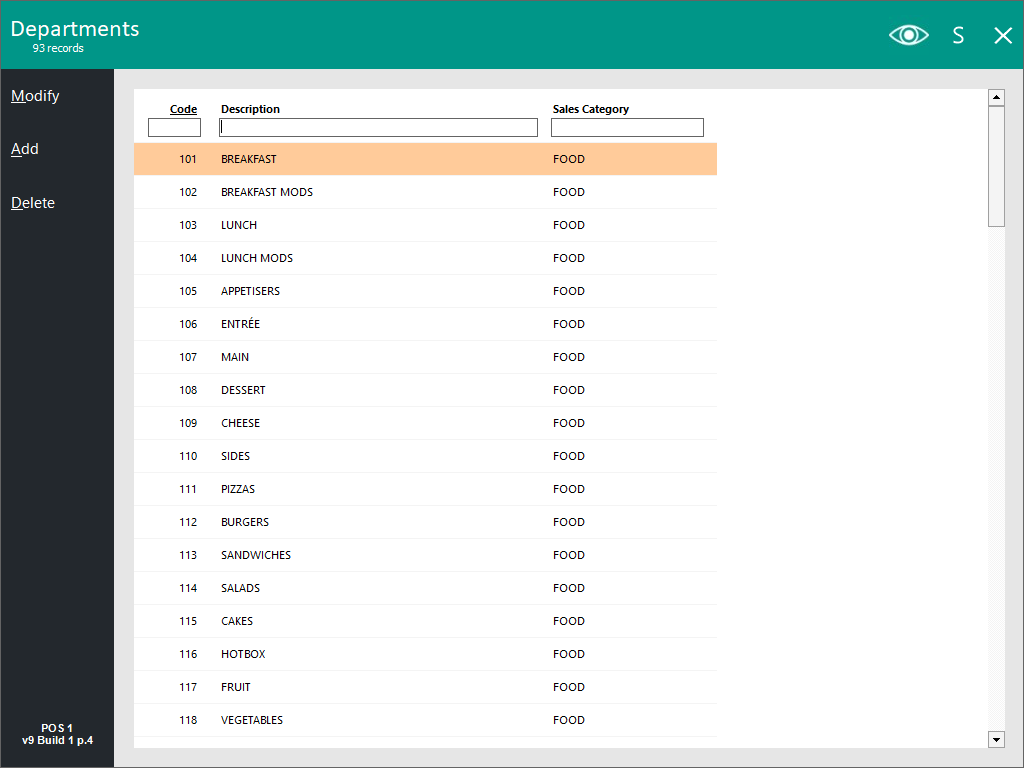
Up to 9,999 departments can be created in Idealpos.
Any changes you make when you modify a Department will automatically change the reports on all previous items associated with that department.
If you delete a department from the list, all stock items associated with the department will be deleted.
You will be warned with a window to confirm.
When you want to add a new department, Idealpos will automatically assign the next available code for that Department.
This can be changed at your discretion while you are initially creating the Department.
Once you have saved the Department into the database, you will be unable to change the code allocated to it.
The requirements for adding a Department are Code, Description and Sales Category.
You can also link the Department to various Print Groups for use with kitchen printing in a restaurant environment.
If you have previously linked a Department to a Print Group and wish to remove it, press the ‘X’ button to the right of the ‘Print Group’ field.
Sales Prompt / Inhibit Pre-paid Sales
This option allows you to Inhibit Pre-Paid Sales of items within this Department.
It also allows the Department to be selected when used in conjunction with Yes/No Options to facilitate additional features.
There are 2 Yes/No Options that can be triggered with this selection, which are ‘Force Sale Type on Specific Departments’ and ‘Prompt for Reference on Specific Departments’.
Once you have selected the Department, go to Setup > Yes/No Options > POS Screen > Force Sale Type on Specific Departments.
When you sell an item from the selected Departments and have not entered a Sale Type, POS will prompt you to enter one.
Once you have selected the Department, go to Setup > Yes/No Options > POS Screen > Prompt for Reference on Specific Departments.
When you sell an item from the selected Departments and have not entered a Reference, POS will prompt you to enter one.
Adult Restriction
The Adult Restriction checkbox will enable the entire Department as an Age Restricted Department.
Any items sold from this Department will trigger the Adult Age Restriction prompt to appear on the POS Screen.
The Adult Age Restriction function is outlined in further detail within the Adult Age Restriction topic.
Force Order Number
The Force Order Number option will Force sequential Order Numbers on specific Department sales only (i.e. when one or more Stock Items from the specific Department are added to the sale, a sequential Order Number will be forced).
To configure this functionality, enable the Yes/No Option Force Order Number on Specific Departments, then perform the following steps:
Go to: Back Office > File > Sales > Departments > Modify a Department that requires this function.
Enable the Force Order Number option and repeat this for each Department that requires this function.
For each POS Terminal, an Order Number range will need to be set.
Note that when configuring multiple terminals, it is recommended that a different range be assigned to each POS Terminal.
This is to ensure that each POS Terminal issues a separate range, thereby avoiding any potential confusion with the same Order Numbers being issued by different POS Terminals.
Go to: Back Office > Setup > POS Terminals > Modify > Miscellaneous Settings tab > Show Order.
Enter a range.
The function is ready for use.
When one or more Stock Items are added to the sale from the Departments that have the Force Order Number option enabled, an Order Number will be forced.
Add Items to the sale:
After pressing the ENTER button to go to the Tender screen, the Forced Order Number is displayed at the top of the POS Screen.
The Forced Order Number will be displayed on the Kitchen Dockets and Customer Receipt.
Stock Item Points
Stock Item Points is outlined in further detail in the Stock Item Points page within this topic.
Metcash
The Metcash section will only appear on systems that have the Metcash Basic or Metcash Advanced options enabled in the Licence Gateway.
The purpose of the Metcash section is to map an Idealpos Department to the Metcash Department, Category, Commodity and Sub-Commodity.
Note that when the Metcash Integration is enabled, these Metcash mapping fields MUST be populated in order to create a new Department or modify an existing Department.
Failing to populate these Metcash fields will result in a prompt appearing that will prevent the Department from being saved until these fields have been populated.
For further details about the Metcash Integration, refer to the Configuring and using Metcash Integration page in the User Guide.